How to Use a Piping Bag Properly
Ever feel overwhelmed when a recipe calls for a piping bag? You’re not alone! Whether you’re trying to pipe intricate details on a birthday cake or fill an eclair with pastry cream, using a piping bag can be tricky at first. But don’t worry because this guide is all about helping you get comfortable with your piping bag. We’re here to walk you through the basics of using a piping bag, from assembling to filling it. We’ll also cover some piping bag tips. By the end of this guide, you’ll be piping like a pro—creating beautiful swirls, roses, and more.
What Is a Piping Bag?
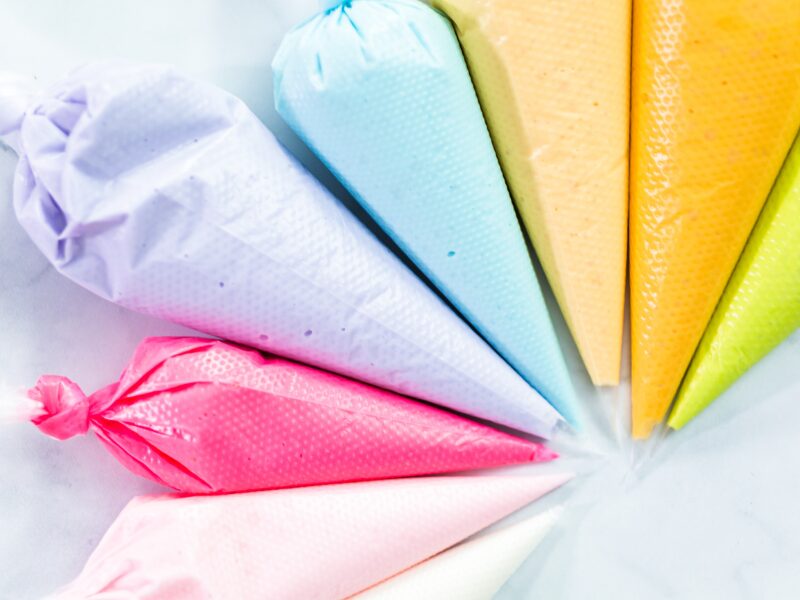
A piping bag is a kitchen tool that makes decorating and filling baked goods easy. It’s shaped like a cone, with a wide opening on one end for filling and a narrow tip on the other for squeezing out your ingredients. You can attach different nozzles to the tip to create different designs, including swirls, flowers, and smooth lines.
People use piping bags for all kinds of tasks, from icing minimalist cakes and beautiful cupcakes to filling cream puffs and eclairs. You can also use them for savory dishes, like piping mashed potatoes or deviled eggs. The bag can be reusable or disposable for easy cleanup.
Reusable bags are long-lasting and eco-friendly. However, you have to thoroughly clean them after each use. On the other hand, disposable bags are more convenient and ideal for quick tasks. However, they generate more baking waste.
Piping bags also vary in size. The small ones are perfect for intricate details, while larger ones are suited for heavy-duty jobs like piping choux pastry. Some bakers even make temporary bags by rolling parchment paper into a cone, especially for small amounts of icing or chocolate. Whether you’re working with frosting, batter, or savory fillings, a piping bag can take your baking game to the next level.
Piping Bag Parts
From the bag itself to the tips and couplers, each part plays a key role in creating beautiful designs. Here are the parts of a piping bag:
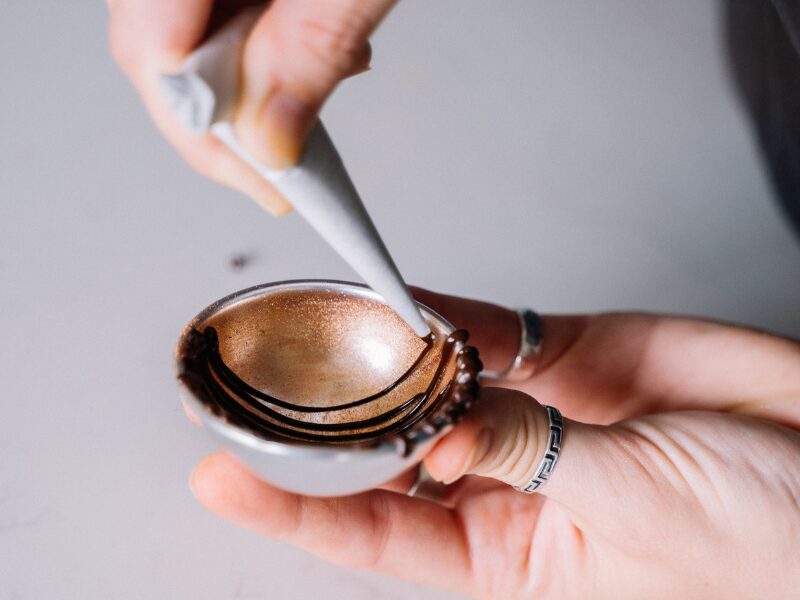
1. Piping Bag
The piping bag, also known as the pastry bag, is the main body. It holds the frosting, batter, or other ingredients you want to pipe. Piping bags can be disposable (made of plastic) or reusable (made of materials like canvas, nylon, or silicone). Disposable bags are convenient for cleanup but less eco-friendly, while reusable bags require washing and drying but can last for years. Some bakers prefer small piping syringes for detailed work since they’re easier on the hands.
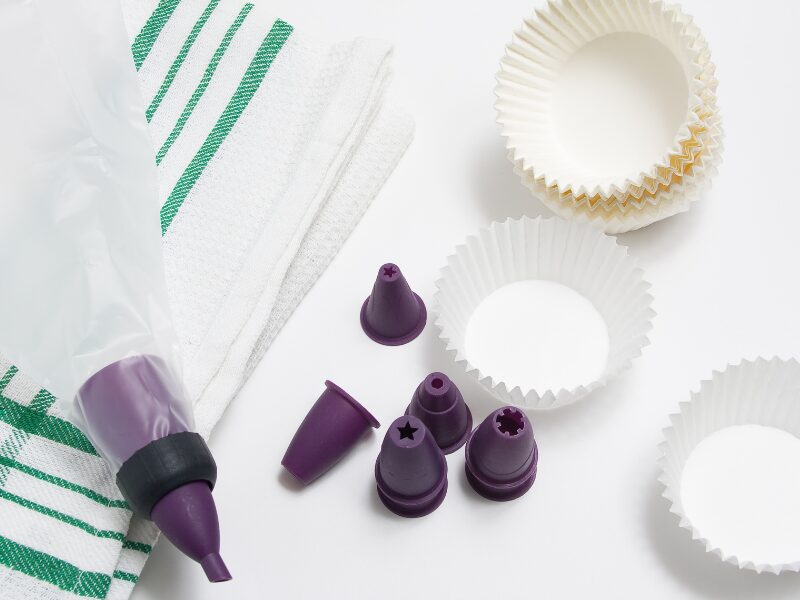
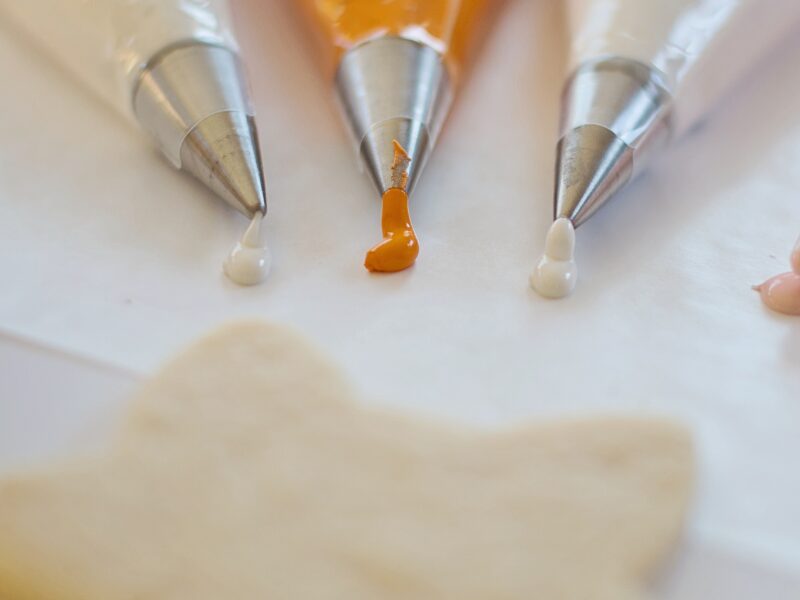
2. Piping Tip or Nozzle
The nozzle is attached to the small end of the piping bag. It determines the shape of what you pipe. Nozzles come in many designs, including simple round openings, stars, leaves, and grass. You can also mix and match nozzles to get the effect you want.
3. Coupler Set
The coupler set makes switching nozzles easy without emptying the bag. It has two parts: the coupler neck and the collar. The neck fits inside the piping bag and sticks out of the tip, while the collar screws onto the neck. It holds the nozzle securely in place. You don’t have to use a coupler all the time, but it’s handy if you’re using multiple nozzles with the same bag.
Types of Piping Bags
You’ve got options: disposable or reusable. Each has its perks, depending on your needs. Here’s a rundown of both:
1. Disposable Piping Bags
These are made of thin plastic and are designed for single use. They’re perfect for quick cleanup; just toss them when you’re done. Disposable bags also work well for projects that involve multiple colors or when you don’t want to wash bags. They come in different sizes, so you can choose what fits your task. The downside? They’re not eco-friendly, so we suggest using them sparingly. Here are the types of disposable piping bags with their pros and cons:
Soft Disposable Bags
- Pros: Thick, pliable plastic that’s easy to use. It can fit any tip size and is microwave-safe.
- Cons: Similar to other disposables, it lacks loops or reinforced tips. Costs can also add up with frequent use.
Striping Bag Inserts
- Pros: Makes piping multiple colors a breeze. They have wide openings for easy filling. They’re also microwavable.
- Cons: Limited to specific uses and don’t have loops for hanging.
High Grip or Tacky Bags on a Roll
- Pros: Excellent grip, easy to store and dispense. They’re also perforated for consistent sizing and are microwave-safe.
- Cons: No reinforced tips or hanging loops. They can also be expensive in the long run.
2. Reusable Piping Bags
Reusable bags are made of durable materials like nylon, canvas, or silicone. They’re a more sustainable option and can handle repeated use. As a result, they’re cost-effective in the long run. Many are coated on the inside to prevent leaks and make cleaning easier. They’re also ideal for frequent bakers. However, you should wash and dry them thoroughly to avoid odors or stains. Here are the types of reusable piping bags with their pros and cons:
Nylon
- Pros: Super flexible and durable. They’re perfect for piping thick foods like dough or mashed potatoes. Nylon piping bags are also microwave-safe.
- Cons: Fatty or oily foods may leak through. Nylon needs to be hand-washed as well.
Canvas
- Pros: Great for thicker foods like dough or mashed potatoes. They’re also durable, have an excellent grip, and are ideal for hot food.
- Cons: Harder to clean, can stain, and isn’t microwave-safe.
Plastic-Coated Canvas
- Pros: Economical and versatile for both heavy and light tasks. They’re also easier to clean and work for different food.
- Cons: Can feel slippery and isn’t ideal for very hot food. Some brands aren’t microwave-safe as well.
Polyester
- Pros: Leakproof, strong, and flexible for heavy-duty tasks. They’re also easy to clean and work well with hot food.
- Cons: Can feel slippery and requires handwashing.
Thermoplastic Polyurethane
- Pros: Flexible and stain-resistant. They also include hanging loops for storage and are microwave-safe.
- Cons: Tips aren’t reinforced.
Polyurethane-Lined Cotton
- Pros: Heavy-duty and great for professional bakers. They’re also leakproof, easy to clean, and perfect for hot foods. They have reinforced tips and hanging loops, too.
- Cons: More expensive than other reusable options. They should be hand-washed as well.
Piping Bag Sizes
Choosing the right size can save you time and make decorating easier. Small bags work well for finer details, while bigger ones are better for larger batches. Here’s a breakdown of the most common piping bag sizes:
12-Inch Piping Bags
Twelve-inch piping bags are ideal for small details and precision work. Use them for delicate tasks like adding polka dots, piping small borders, creating fine swirls, writing on cakes, or decorating cookies with royal icing. However, they’re not practical for larger tasks like frosting cupcakes or covering a cake.
16-Inch Piping Bags
Sixteen-inch piping bags work best for medium-sized jobs. These include frosting cupcakes, piping swirls on cakes, or making decorative borders. They also hold more frosting than the 12-inch ones, so you don’t need to refill as much.
18-Inch Piping Bags
Eighteen-inch piping bags are the go-to options for large projects that need a lot of frosting. These include covering an entire cake or decorating dozens of cupcakes. They’re also designed for efficiency and are useful for large-scale projects. If you bake often, consider buying disposable 18-inch bags in bulk.
How To Assemble a Piping Bag
Putting together a piping bag is easy once you know the steps. Follow this guide to get it right every time:
1. Cut the Tip of the Bag
Start by cutting the tip off your piping bag. How much you cut depends on the size of your nozzle. Hold the nozzle next to the bag’s tip and cut a straight line where the wide end of the nozzle meets the bag. If you’re not sure how much to cut, start small. You can always trim more if needed.
2. Insert the Nozzle
Push the nozzle through the opening you just cut. It should fit snugly, with the tip poking out of the bag but the wider end staying inside.
3. Add a Coupler
Insert the neck inside the piping bag if you’re using a coupler. The tip of the neck should stick out slightly through the cut hole. Place the nozzle on the exposed end of the coupler neck, then screw the coupler collar over the nozzle to hold it in place.
How To Fill a Piping Bag
Filling a piping bag might seem tricky at first, but with a few easy steps, you’ll get the hang of it. Here’s how to do it:
1. Prepare the Bag
Make sure the piping tip or coupler is securely in place before filling the bag. If it’s new, snip the tip just enough to fit the nozzle snugly. Don’t cut too much, or the tip might slip out.
2. Fold the Bag
Hold the bag in the middle. Then, fold the top half down over your hand to create a cuff. Doing this makes the opening wider and keeps things clean. You can also place the bag in a tall glass and fold the top over the rim for more stability.
3. Add the Filling
Use a spatula or spoon to scoop your filling and press it into the bottom of the bag. Scrape off any excess against the side to avoid mess. Don’t overfill—stick to about 2/3 full to leave room for twisting the bag.
4. Get Rid of Air Bubbles
Twist the top of the bag closed and gently press the filling down to the tip. Apply light pressure to “burp” the bag, releasing any trapped air.
How To Use a Piping Bag With a Tip Coupler
A tip coupler makes using a piping bag a lot easier, especially if you want to switch designs without changing the bags. Here’s how to use it:
1. Cut the Bag
First, snip off the tip of your piping bag. Snip it just enough so the larger piece of the coupler can fit through the hole.
2. Insert the Coupler
Take the larger piece and insert it into the opening of the bag.
3. Attach the Piping Tip
Now, place your chosen piping tip over the coupler. The tip should fit snugly around the larger piece.
4. Secure the Tip
Slide the smaller piece of the coupler over the tip from the outside. Screw it on tightly. Doing this keeps the tip secure and prevents any mess while piping.
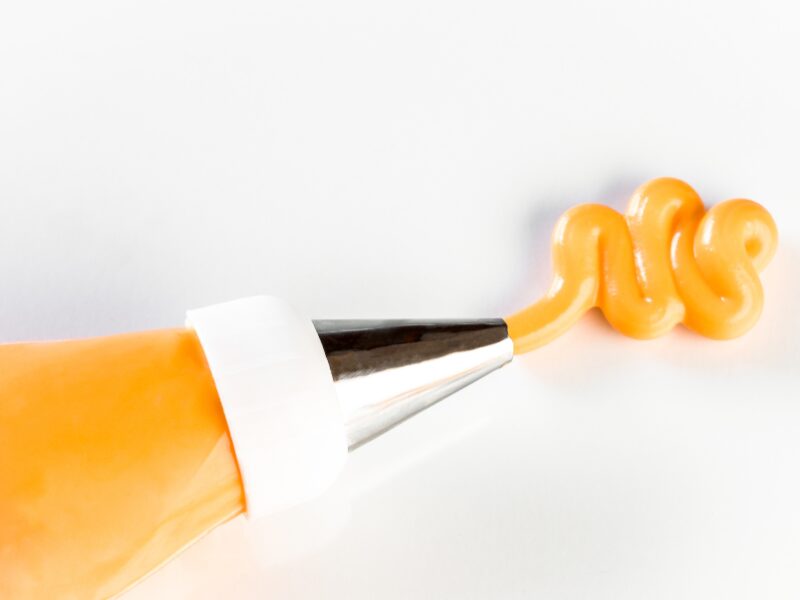
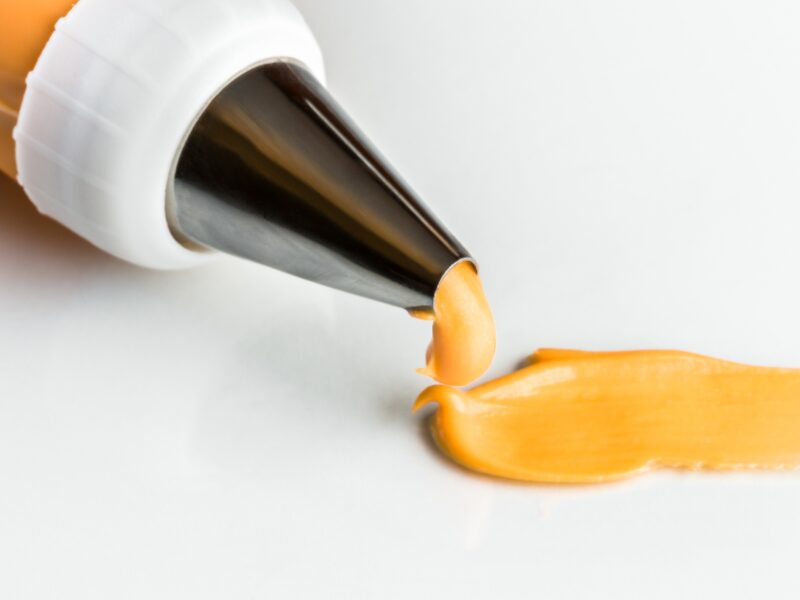
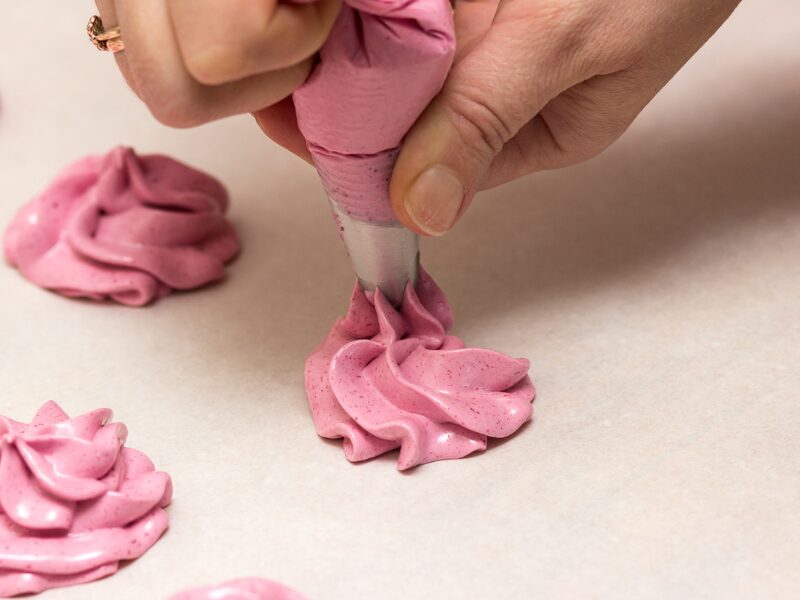
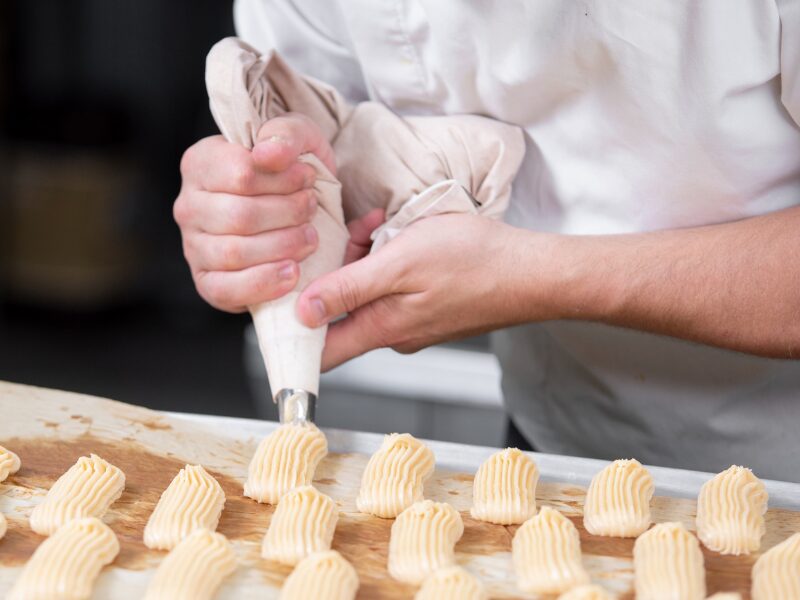
5. Start Piping
Hold the bag at a 45-degree angle over your cake, cupcake, or pastry. Apply even pressure, and move the bag as you pipe to create your design.
6. Change Tips
Unscrew the smaller piece, remove the tip, and replace it with a new one to change the tips. Screw the piece back on, and you’re good to go.
How To Use a Piping Bag Without a Tip Coupler
Using a piping bag without a coupler is simple, but you need to be careful when cutting the bag. Here’s how to do it:
1. Cut the Bag
First, snip off the tip of your piping bag. Only cut enough for the piping tip to fit through, but not cover the opening. If the hole is too big, the frosting might squeeze out of the sides.
2. Insert the Piping Tip
Next, insert your piping tip into the bag. Make sure the tip fits snugly and that it’s not blocked by the opening you just made.
3. Start Piping
Hold the bag at a 45-degree angle over your cake, cupcake, or pastry. Apply even pressure, and move the bag as you pipe to create your design.
4. Change Tips (Optional)
Do you need to swap out the tips? Use the double bag method. Fill one bag with frosting, then snip the tip off. Then, drop that bag into another piping bag with the new tip attached. Doing this lets you change tips without any mess.
Frequently Asked Questions
Piping bags are used to pipe frosting, batter, or fillings onto cakes, cupcakes, and cookies. They’re great for decorating and adding details like swirls, borders, or writing.
You can use a Ziploc bag, parchment paper, or even a plastic sandwich bag instead of a piping bag. Just cut a small hole in the corner to pipe.
Yes, a Ziploc bag works just like a piping bag. Just fill it, cut a corner, and pipe away.
Conclusion
Using a piping bag might feel tricky at first, but it’s easier than it looks with a little practice. From decorating cakes to filling pastries, it’s a handy tool that takes your baking to the next level. Happy piping!
About HICAPS
Over the years, HICAPS has helped bakers and businesses make delicious products by offering ingredients like ChiffonAide Cake Oil, Magic Whizk Whipping Cream, Red Velvet Flavor Emulco, and Instabake Brownie Mix.
HICAPS also provides tools and resources to valued partners, such as the free “How to Increase Your Sales Amidst the Pandemic” E-book and free dealer locator that helps look for baking ingredients near me.
Want more free tips and tutorials? Follow us on Facebook at Hicaps Mktg. Corp. and on YouTube at HicapsTV. Want to be one of our valued partners? Fill out this form. Looking forward to talking to you soon!


