Top 5 Baking Techniques Every Home Baker Should Master
If you love baking, you’ve likely heard it said that baking is both an art and a science. That couldn’t be more true― baking requires precision and artistry to produce the best results. To improve your home baking skills, you need to practice the top baking techniques consistently.
But if you’re just starting your baking journey and don’t know much about baking techniques yet, we’re here for you. In this post, we’ll talk about the top five baking techniques for beginners.
Baking Techniques
- Creaming
- Kneading
- Proofing
- Folding
- Piping
Top 5 Baking Techniques Every Baker Should Know
Things can be intimidating if you’re new to baking or just started your home baking business. But the good news is you can make your baking journey smooth.
While there are many processes in baking, these are the basics― the ones you need to master for a smooth baking journey. And even if you’ve been baking for years, brushing up on the basics helps you stay on top of your field. Here are the top five baing techniques every baker should master:
Creaming
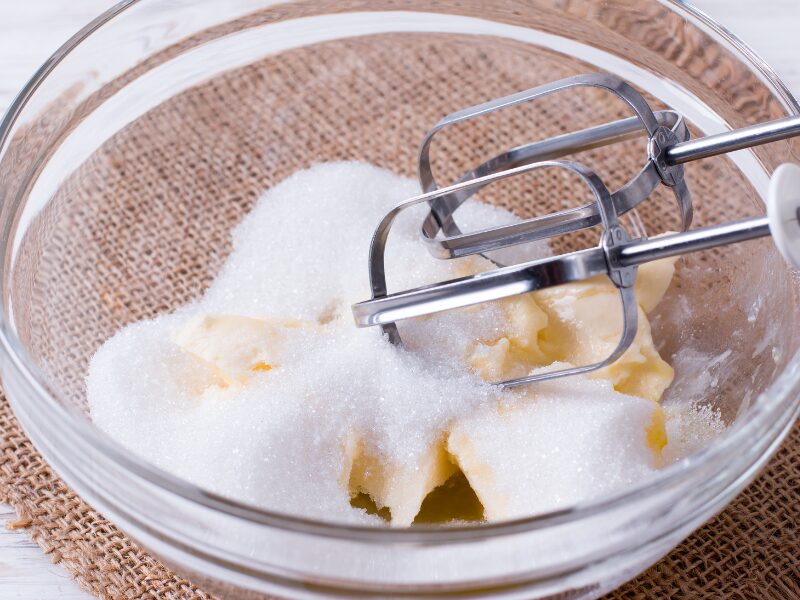
Technically, creaming refers to mixing butter and sugar until the mixture becomes well blended, fluffy, and pale yellow. Creaming is usually the first step in making chocolate chip cookies or minimalist cakes.
This baking technique for beginners evenly disperses the sugar throughout the mixture, letting it completely dissolve into the butter. You also give the batter more volume by mixing thoroughly and incorporating more air. The result? Lighter cookies and cakes.
How to Cream by Hand

1. Place unsalted or salted butter on your counter for a minimum of one hour or until it’s at room temperature. The butter should feel soft but not melting or warm. You’ll know when it’s at room temperature if you poke it and your finger leaves a little indent.
2. Grate or slice the butter into small cubes. Place the butter in a large mixing bowl. Then, beat the butter with a wooden spoon until it becomes soft.
3. Add sugar to the butter and gently mash it with a fork. Then, stir the butter and sugar until the mixture becomes light and fluffy.
4. Next, use a rubber spatula to scrape everything off the sides. You successfully cream the batter when it has almost doubled and is yellowish-white.
How to Cream Using a Mixer
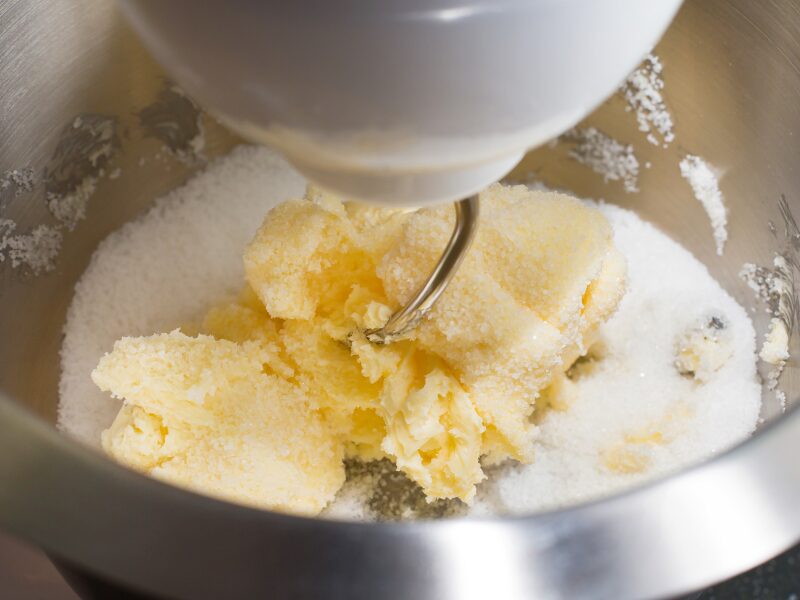
You can also use a hand or stand mixer to make things easier. Here’s how to do it:
1. Place the butter out on the counter for a minimum of one hour or until it’s at room temperature.
2. Break up the butter using your mixer on low. Then, turn the speed up to medium and mix for one to two minutes. Pause the mixer every now and then soo you can scrape the butter out of the beaters using a rubber spatula.
3. Next, set your mixer to medium speed. Add sugar a little bit at a time. Then, use a rubber spatula to scrape everything off the sides of the bowl and the hook occasionally. You successfully cream the batter when it has almost doubled and has a yellowish-white color.
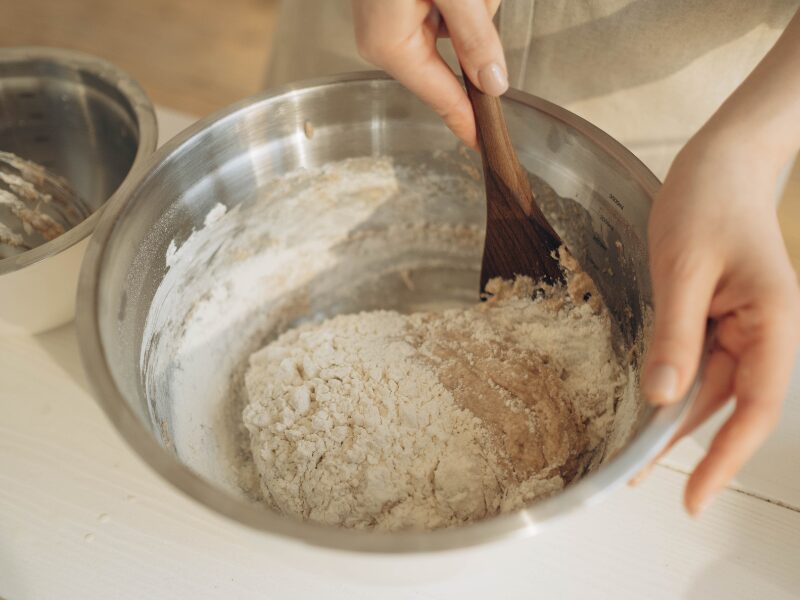
Kneading
When making bread, kneading the dough is a crucial step you can’t skip. Kneading refers to working the dough, usually by hand. This process gives baked goods their nice structure and texture.
Kneading helps evenly distribute the ingredients and incorporate air, which helps make the bread light. It also contributes to the overall texture of the bread, both inside and out.
Most importantly, kneading develops gluten, something the bread needs to expand without bursting. Flour has two proteins that come together to form gluten. However, simply mixing leaves these proteins in a random order. On the other hand, kneading the dough organizes the proteins and links them together to create gluten. This lets the bread form a stable structure with a tender inside and crusty outside.
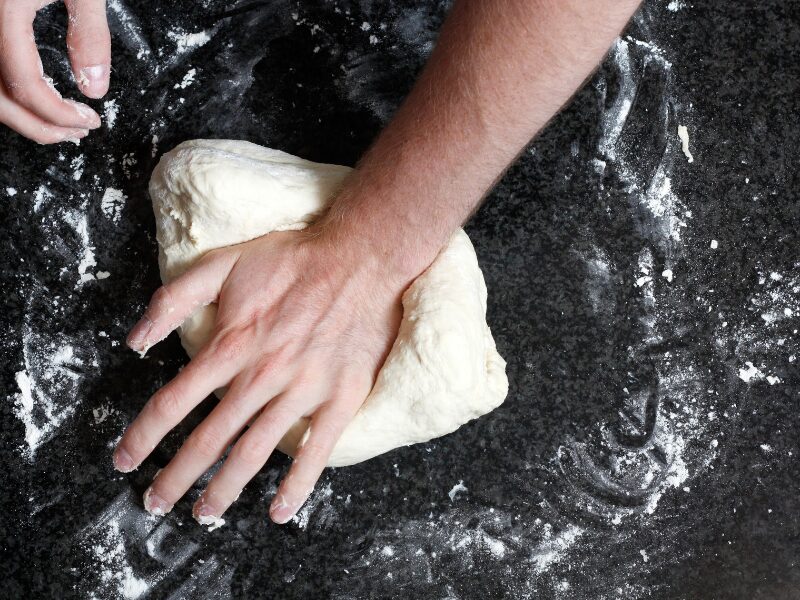
How to Knead by Hand
Kneading only takes a few minutes and usually requires your hands, a flat surface, and a little flour. Here’s how to knead your dough properly:
1. Sprinkle your kitchen counter or tabletop with flour. Scrape the dough out of the bowl and transfer it to the surface.
2. Start kneading the dough by pushing it down and then outward. Use the heels of your hands to do this.
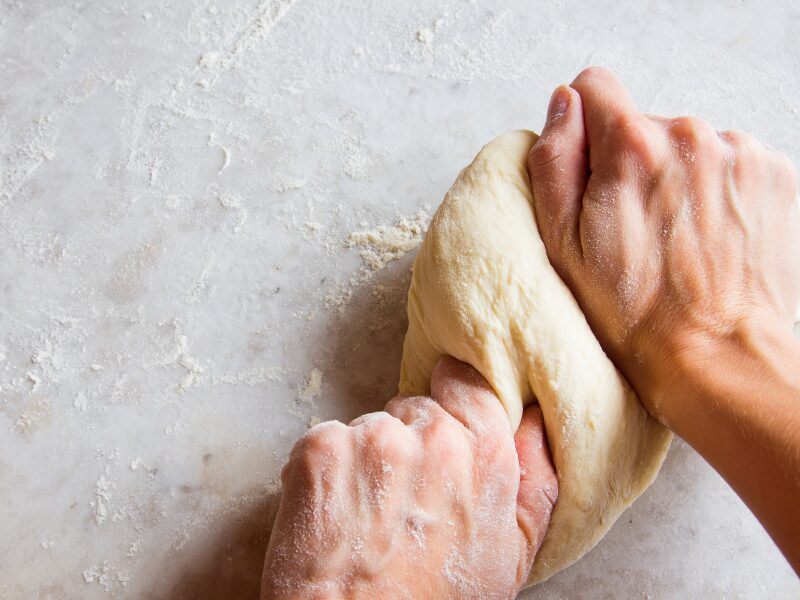
4. Fold the dough in half toward you. Then, press it down.
5. Next, use the heels of your hands again to push down and outward to stretch and lengthen the dough strands and fibers.
6. Turn the dough approximately 45 degrees and knead again using the heels of your hands. If it gets getting sticky, sprinkle more flour. Keep kneading― folding and turning the dough― until it becomes smooth and supple.
How to Knead Using a Mixer
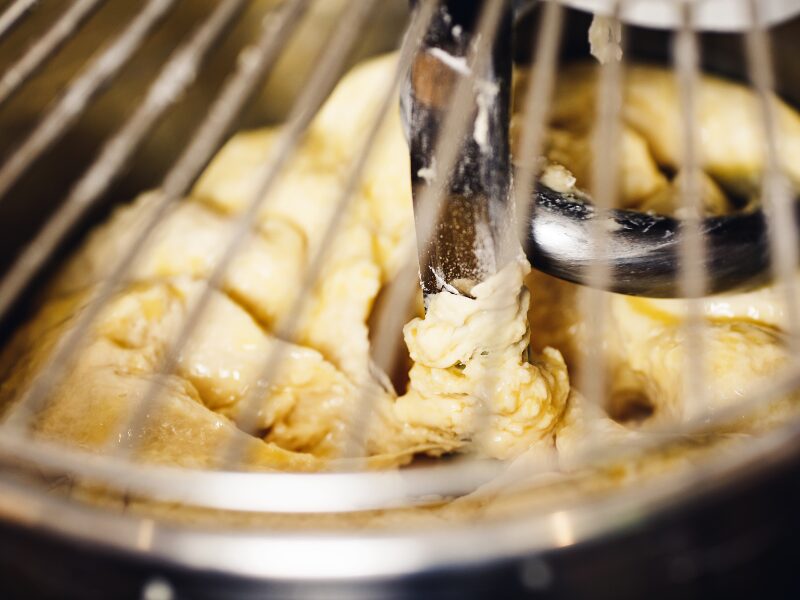
Using a stand mixer to knead dough requires less work. Here’s how to do it:
1. Attach the dough hook to your mixer and place the dough in the bowl.
2. Turn your mixer on low. Let it knead the dough for three minutes or until it clings to the hook.
3. Then, clean the sides of the bowl with a rubber spatula. Continue kneading the dough for three to four minutes more. You have properly kneaded your dough when it feels smooth and elastic.
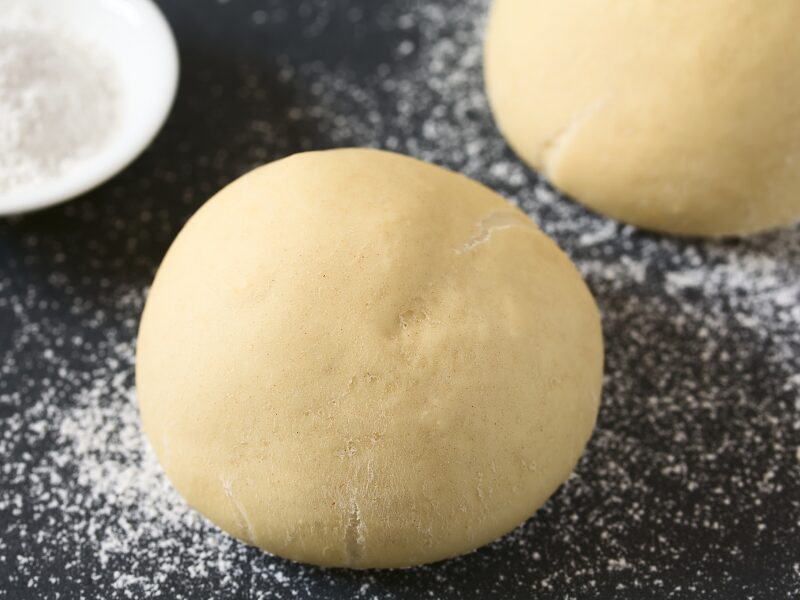
Proofing
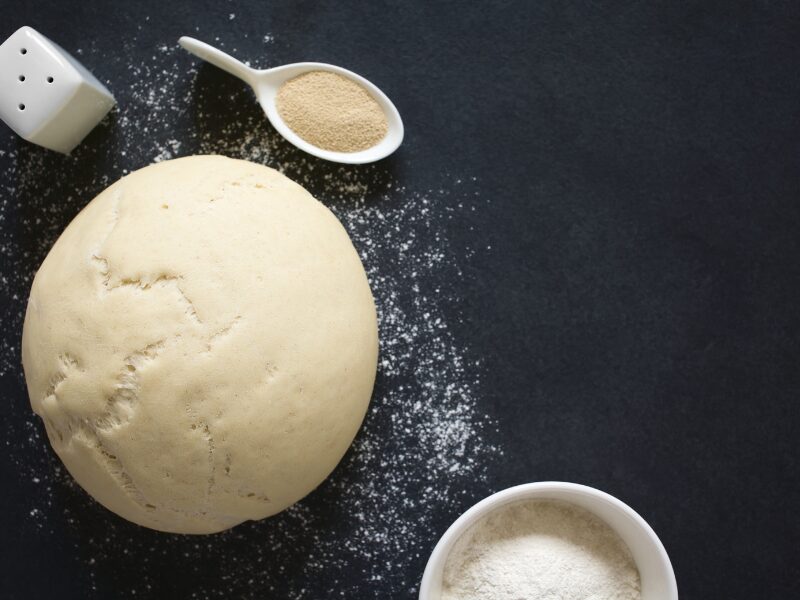
At this point, you likely know that dough rises, right? Well, that’s what proofing is all about.
Proofing refers to the process of leaving dough to ferment. The yeast consumes the starches and sugars during this process to produce carbon dioxide. This expands the dough since it traps the carbon dioxide within its stretchy and strong gluten network. As bread proofs, it usually doubles or almost doubles in size and becomes puffy and pillowy.
Proofing is a straightforward baking technique for beginners that can be done in many ways:
How to Proof at Room Temperature
The traditional way to proof bread is using a glass bowl at room temperature. This baking technique works well in nice and toasty dirty kitchens, especially during warm seasons. Here’s how to do it:
1. Place the dough inside the glass bowl.
2. Cover the glass bowl using a damp cloth or paper towel. If your bowl is deep enough, you may use cling wrap.
3. If you have a sticky dough, rub the smallest amount of oil onto the cling wrap to keep the dough from sticking. You can also use a little bit of cooking spray.
How to Proof in the Oven

The oven is our go-to method for proofing dough when it’s cold inside. And nope— you don’t have to turn it on.
1. Carefully fill a glass dish with boiling water and place it on the bottom rack of your oven.
2. Then, place your dough in a glass bowl or proofing bowl and cover it. Place the bowl in the middle or top rack. Shut the door.
How to Proof Bread Using a Slow Cooker
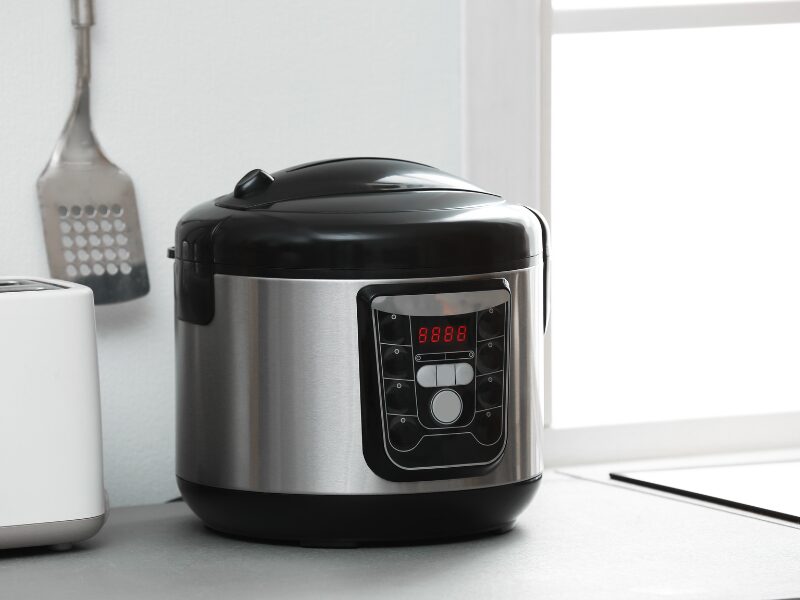
You can use a slow cooker to proof dough. Here’s how to do it:
1. Place the dough inside a glass bowl and cover it.
2. Fill your slow cooker halfway with water. Then, set it to the low setting, which will heat the water to about 93ºC or 200ºF.
3. Place the dough inside your slow cooker and cover it using a clean, damp towel.
4. Close the lid and let the radiant heat from the hot water help the dough rise.
5. Check your dough from time to time to make sure it’s rising at the right pace. If it’s going too fast or slow, change the temperature or turn off the slow cooker as needed.
Folding
This baking technique for beginners combines a light, airy ingredient, like egg whites, with a heavier one, like whipped cream or cake mix.
How to Fold
Folding is a crucial baking technique for beginners. It makes your mousses more airy, your chiffon cakes fluffier, and your souffles sky-high. Here’s how to do it:
1. Always start by adding lighter ingredients to the heavier ones.
2. Starting at the center of the bowl, cut straight down the center using a wide spatula to the bottom.
3. If you have dense batter, begin by incorporating just a bit of the lighter ingredients to loosen them up before folding the rest.
4. Next, scrape along the bowl towards you. Continue up the side and scoop the batter over the top.
5. Rotate your bowl about 45 degrees and repeat step two until everything’s combined. You’ve folded everything properly once you achieve a homogeneous mixture that doesn’t separate or has streaks.
Piping
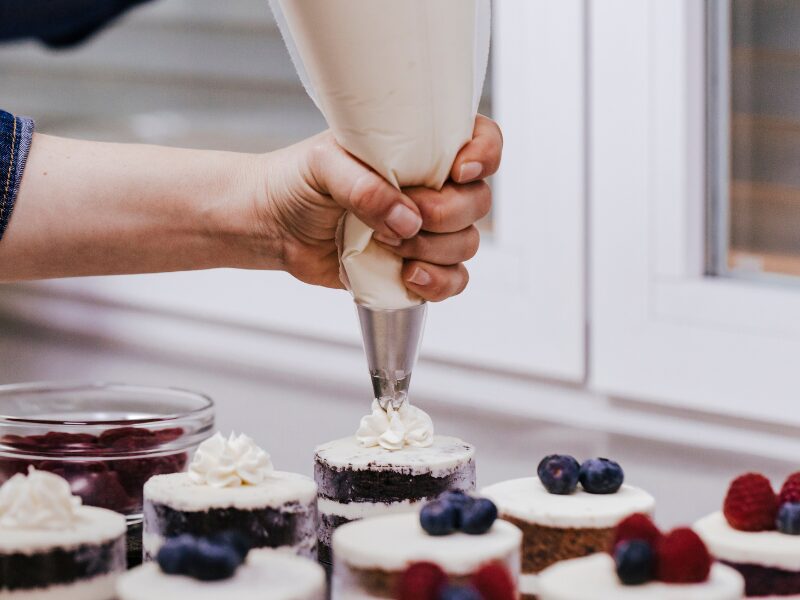
This baking technique for beginners refers to applying or shaping icing or frosting using a piping bag. Piping evenly distributes the icing or frosting and produces uniform shapes as it comes out of the nozzle.
How to Pipe
Unlike the other baking techniques in this guide, piping takes a lot more practice. Here’s how to do it:
1. Prepare the piping bag by cutting the end just enough so the coupler can poke through.
2. Next, drop the coupler with its end first into the piping bag. Push it down until it reaches the end of the piping bag. Place the decorating tip on the end of the coupler and secure it in place using the coupler ring.
3. Place the bag with its tip end down in a huge glass or a plastic container. Then, make a cuff on the bag by folding it halfway down to cover the glass or rim.
4. Use a spatula to transfer the frosting into the piping bag. Scrape the frosting against the inside of the bag to release it. Once you’ve filled the piping bag halfway, lift and shake it so the contents settle.
5. Unfold the cuff and put the top edges together. Then, use a bench scraper to push the bag’s contents towards the tip.
6. Twist the top to close the piping bag, and use a rubber band to secure it.
7. Now for the fun part! Hold the bag using your dominant hand at a 90-degree angle over what you’re piping on. Work from the outside edge, with your dominant hand squeezing and your non-dominant hand steering.
8. Keep on doing this until you get the design you want.
Frequently Asked Questions
The 5 baking techniques are creaming, kneading, proofing, folding, and piping.
The best baking techniques are creaming, kneading, proofing, folding, piping., lining, rolling, and blind baking.
An example of a baking method is oven baking. Using this method requires an oven to trap heat and bake the dough or batter. Another example of a baking method is steam baking, in which heat is trapped using a small amount of water in a tight-fitting lid and pot.
Conclusion
Understanding and practicing baking techniques help you make delicious baked products, which increases your baking business’ profits. So, what are you waiting for? Grab your measuring tools, cake decorating tools, cutting tools, & other baking tools, and start practicing now!