Filipino Food Photography: The Ultimate Guide
What if we tell you that there’s more to Filipino food photography than getting likes on social media? Do you know how to take food photos?
Contrary to popular belief, Filipino food photography can generate sales. So, if you are a food business owner, taking great photos of your food helps turn people from “I am not sure about this” to “Take my money now”.
But what if you don’t know where to start?
In this article, we will talk about Filipino food photography, how you can do it, and how photos can help your business. We will also give you tips on how to take amazing photos.
What Is Filipino Food Photography?

When we think of authentic Filipino food, our minds bring us to delicious, heartwarming food that delights us. This gets better when we see photos of Filipino food online.
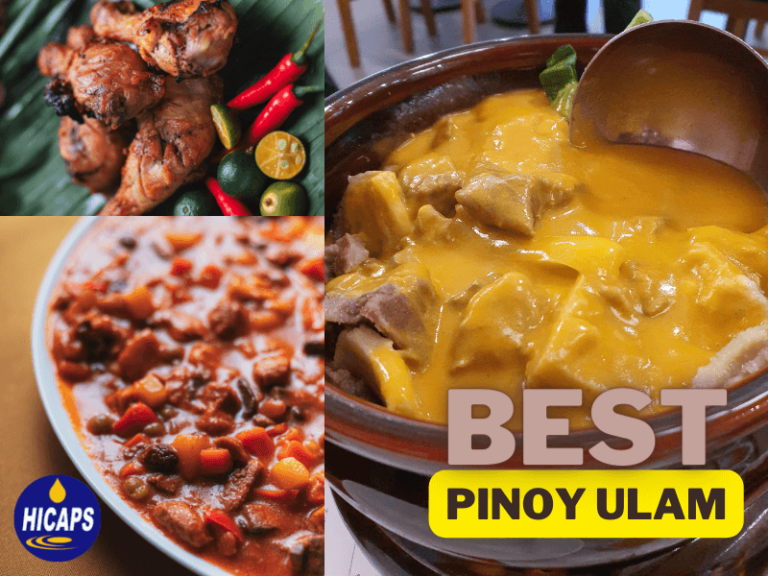
As its name suggests, Filipino food photography involves our beloved national dishes. From pork adobo to leche flan, we certainly take pride in Filipino dishes.
Hence, we must take the right angles, put the right accessories, and include the right color combinations to produce great photos.
While this might seem daunting at first, learning all of these becomes worth it. Once you master the art of taking photos, they will help scale your business.
Read Other Interesting Articles by HICAPS
- The Ultimate Guide: Types of Coffee Beans to Brews
- Restaurant or Cafe: Differences and What to Choose
- Importance of Packaging in Bakery Business
How Filipino Food Photography Helps Food Businesses

Speaking of scaling your business, great photos help you do that.
But how exactly do photos help scale your business? Here are the tops things amazing photos can do for your business:
1. Photos improve your reputation.
In the food industry, reputation matters a lot. When you build a positive reputation from the get-go, people will most likely trust you and your store.
Photos help you build a positive reputation. Since photos showcase your products in a nice way, people will think that they can trust you.
To clearly illustrate this, let us give you an example.
Stores A and B both sell egg pies. Store A takes great photos with a clean background and nice lighting, while Store B just randomly takes photos without considering anything. Then, both stores post their photos online.
Which store do you think will people trust more? The store with clean, amazing photos or the store with messy backgrounds?
2. Photos put your store in front of prospects.
In the food industry, photos matter a lot. There are many reasons why this is. One of the most important reasons is getting prospects.
Without amazing photos, you cannot expect to get a lot of prospects.
When you post a photo online, people will judge your store based on it. If the photos look clean and professional, people will most likely engage with you. Whether it’s a like, share, or comment, any type of engagement means getting another prospect.
After nurturing your prospects properly, they will become buying customers.
3. Photos help convert prospects to buying customers.
In the food industry, conversion matters a lot. One of the best ways to do this? Use amazing photos.
Filipino food photography can convert your prospects to buying customers. You can use your photos in newsletters, social media posts, landing pages, and blog articles to do so.
While these may seem like a lot at first, investing in these marketing efforts help. Remember, many businesses fail within five years of operating not because of low-quality products. They fail because of poor marketing.
How to Take Food Photos

Taking Food Photos
- Prepare your food.
- Find the right setting.
- Set up the lighting.
- Find the right angles.
- Take photos.
- Browse through the photos you take.
- Edit your photos.
How to Take Amazing Food Photos

When you check your Facebook or Instagram feed, you will see a lot of food photos. Some may look appetizing. Others don’t.
But what sets the appetizing photos from the others? Let’s find out.
Here’s how you can take amazing photos of Filipino food:
1. Prepare your food.
Professional chefs use the term “plating” to make food look appetizing. Plating is all about making the food look as appetizing as it actually tastes.
However, you don’t have to become a chef to plate food. You can do this as a beginner, especially if you don’t have the budget to hire a food stylist yet.
If you’re taking photos of food that’s natural-looking (e.g. marble potato salad and kalabasa soup), you can be a little messy with the plating. Remember, the key term here is “a little messy”. We don’t want you to make your food look so messy that people will think it’s dirty.
This also means that you should not arrange the food. However, you can choose to garnish it using natural food such as leaves. You can also choose to put it in a natural setting (e.g. garden).
On the other hand, if you’re taking photos that’s not typically natural (e.g. ube cheese pandesal), you must plate your food neatly. Since these food items rely more on the balance of lines and colors to look more appetizing, you need to make the plating as neat as possible.
2. Find the right setting.
After plating your food, you must find the right setting for it.
As we mentioned, natural-looking food must go with natural settings. If this does not work for you, you can still shoot indoors. Just make sure that the setting suits your food well.
In addition, you can choose a simple white background. They work best with food having vibrant colors.
On the other hand, wooden cutting boards or tables work well with comfort food like fries, pizza, and burgers. They give these food items a rustic, homey feel.
3. Set up the lighting.
Lighting matters a lot in Filipino food photography.
You can plate your food perfectly and find the right setting, but if you lack lighting, your photos will turn out unattractive.
So, don’t forget to set up your lighting properly.
To do this, get some lighting equipment first. You can use a selfie ring light for this. If you don’t have one, a small bulb will do. However, small bulbs only work well for small food items.
As an alternative, you can use natural lighting. Take your food out and shoot under broad daylight.
You can choose any type of lighting as long as your food gets enough light.
4. Find the right angles.
Once you’re done with the lighting, move to find the right angles.
To do this, open your camera. Position yourself in a way you think is best. Look at your camera’s screen. If the angle looks great, stick to it. If not, choose another angle.
In this case, finding the right angle means going through trial and error. You cannot usually find the right angle during your first try. Hence, you need to be patient.
Don’t worry because your effort will be rewarded. Once you find the right angle, it’s a matter of clicking your camera.
5. Take photos.
After finding the right angles, take photos. Keep on taking photos until you’re satisfied.
Remember, the right photos must have the right lighting, setting, and angles.
If you are not satisfied with what you see on your camera’s screen, don’t hesitate to take photos again. Just like with the previous step, you need to be patient with this one.
6. Browse through the photos you take.
After taking your photos, browse through them. You have to choose the best photos to edit, so take your time.
Depending on the number of photos you took, this might take a while.
To properly browse your photos, set them into a large, grid mode. By doing this, you can compare photos at the same time without going back and forth.
After choosing the best photos, move them to a separate folder. Do not delete the others in case you change your mind.
7. Edit your photos.
After picking your best shots, edit your photos.
To do this, you can use tools such as Photoshop or Canva. If you want advanced features, go for Photoshop. If you can work with basic features, go for Canva.
You can choose any editing software you want as long as it fits your needs.
When editing, think like an artist. Think about how the colors in your photos work together. Find the right contrast and intensity.
Also, set the right tone. A warmer tone makes food more appetizing than a cooler one.
Pro Tips & Tricks

- Be as creative as you can. Filipino food photography is more art than science.
- Use props such as tablespoons, cups, cutting boards, and plates.
- Use garnish to your advantage. They can make or break your photos.
- Choose the right equipment. If you don’t have a budget for a DSLR camera, use a smartphone with a nice camera.
- Watch out for unflattering shadows. Adjust your camera settings or lighting to get rid of them.
- Your angles must reflect what component of your food you want to emphasize.
- Don’t be afraid to try new things when shooting with your food. There are many ways to make your photos stand out from the crowd.
Conclusion
Filipino food photography is an excellent way to make a presence online. It can give you more prospects, convert them to buying customers, and increase your revenue. So, what are you waiting for? Print or bookmark this guide and take your food photos as soon as you can!
About HICAPS
Over the years, HICAPS has helped bakers and businesses make delicious products by offering ingredients like ChiffonAide Cake Oil, Magic Whizk Whipping Cream, Red Velvet Flavor Emulco, and Instabake Brownie Mix.
HICAPS also provides tools and resources to valued partners such as the free “How to Increase Your Sales Amidst the Pandemic” E-book and free dealer locator that helps look for baking ingredients near me.
Want more free tips and tutorials? Follow us on Facebook at Hicaps Mktg. Corp. and on YouTube at HicapsTV.
Want to be one of our valued partners? Fill this form out. Looking forward to talking to you soon!